
Last updated November 22, 2026
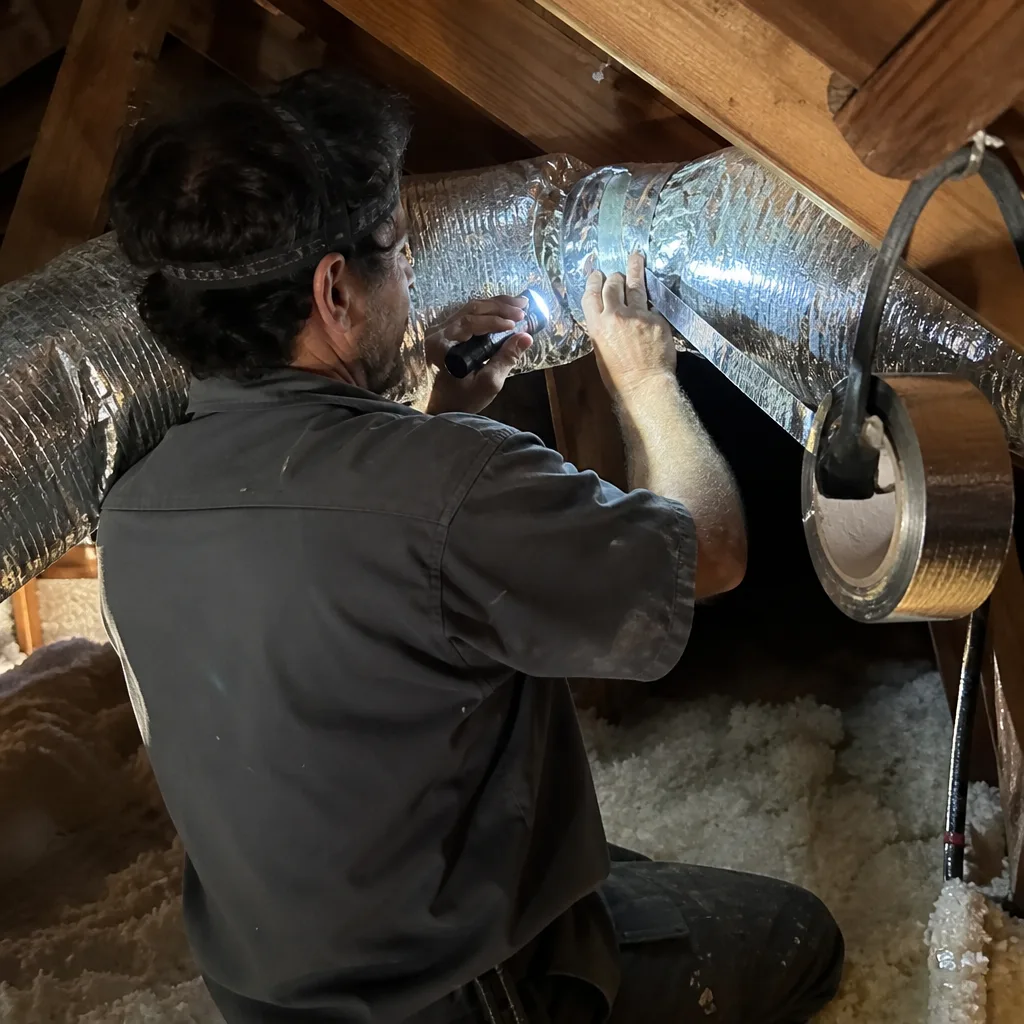
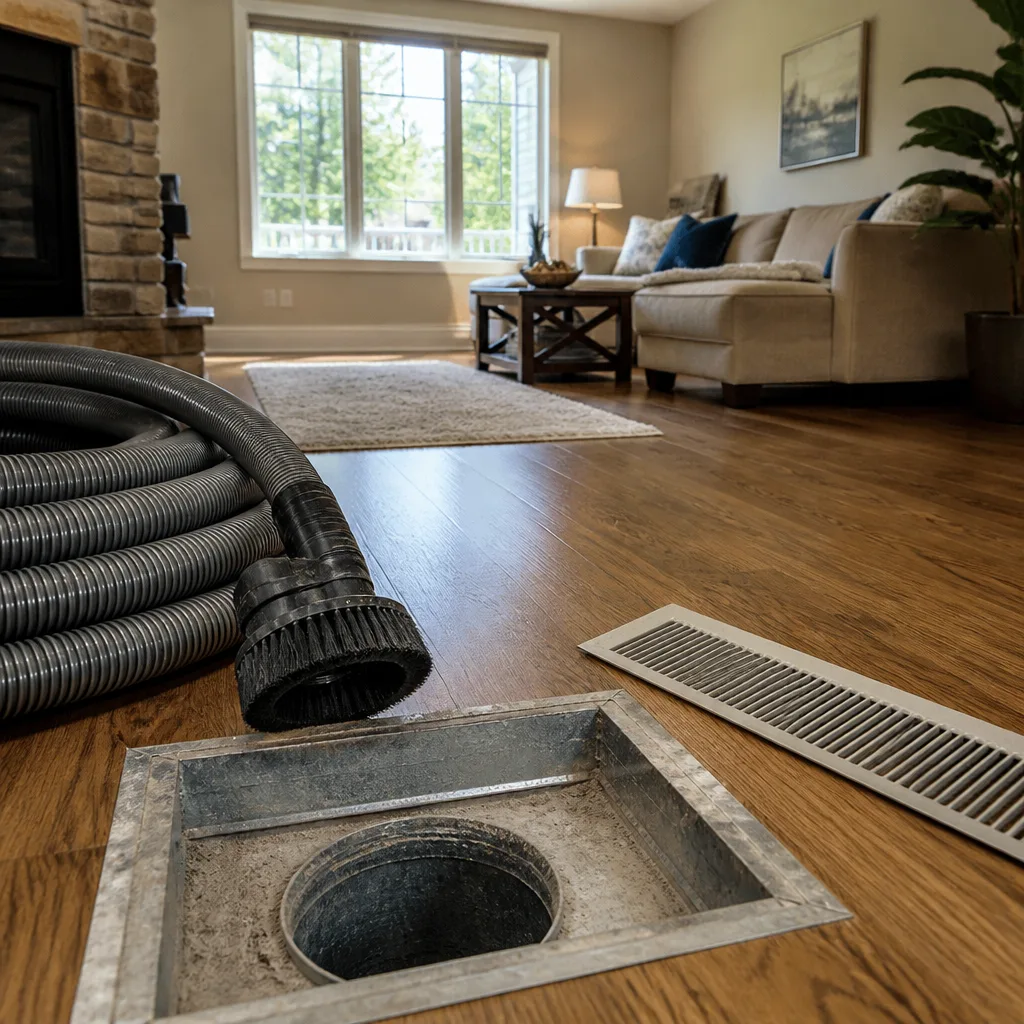 Whole-home duct cleaning
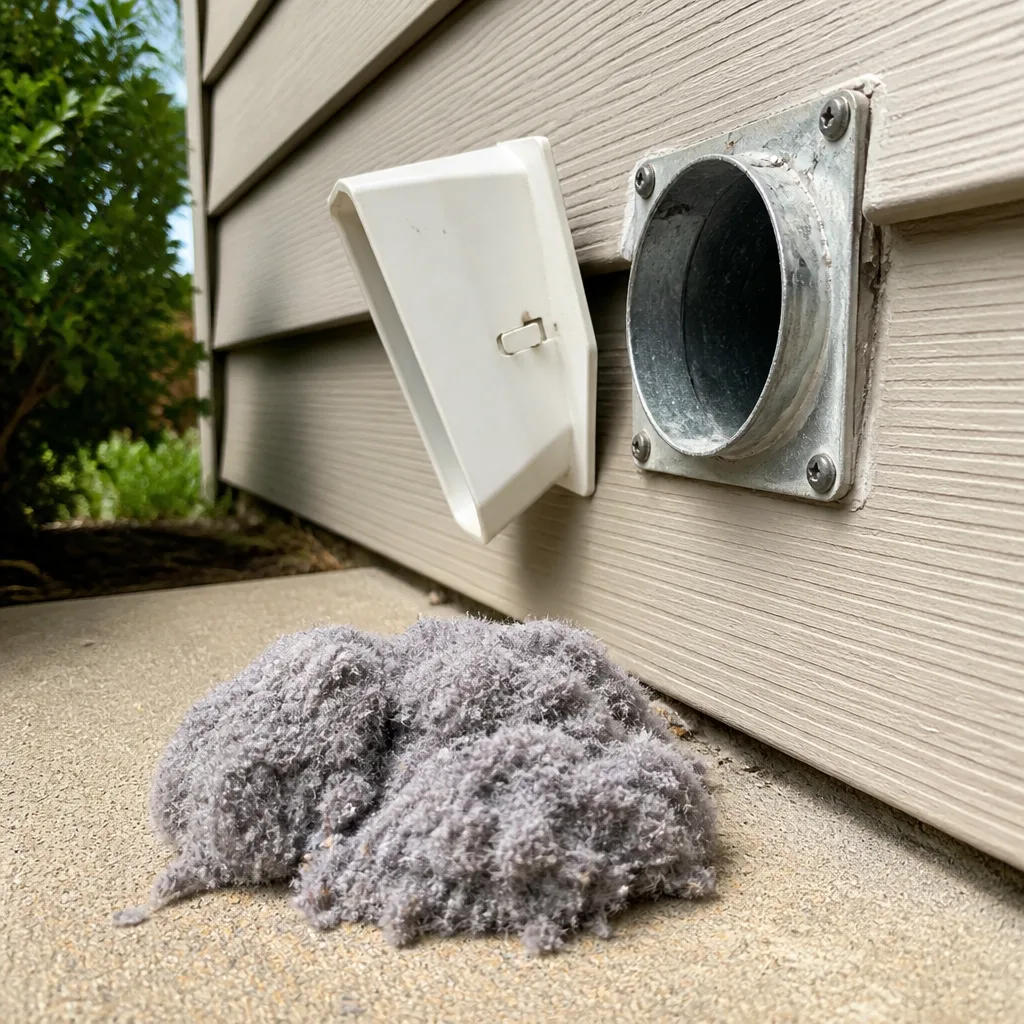 Dryer vent cleaning
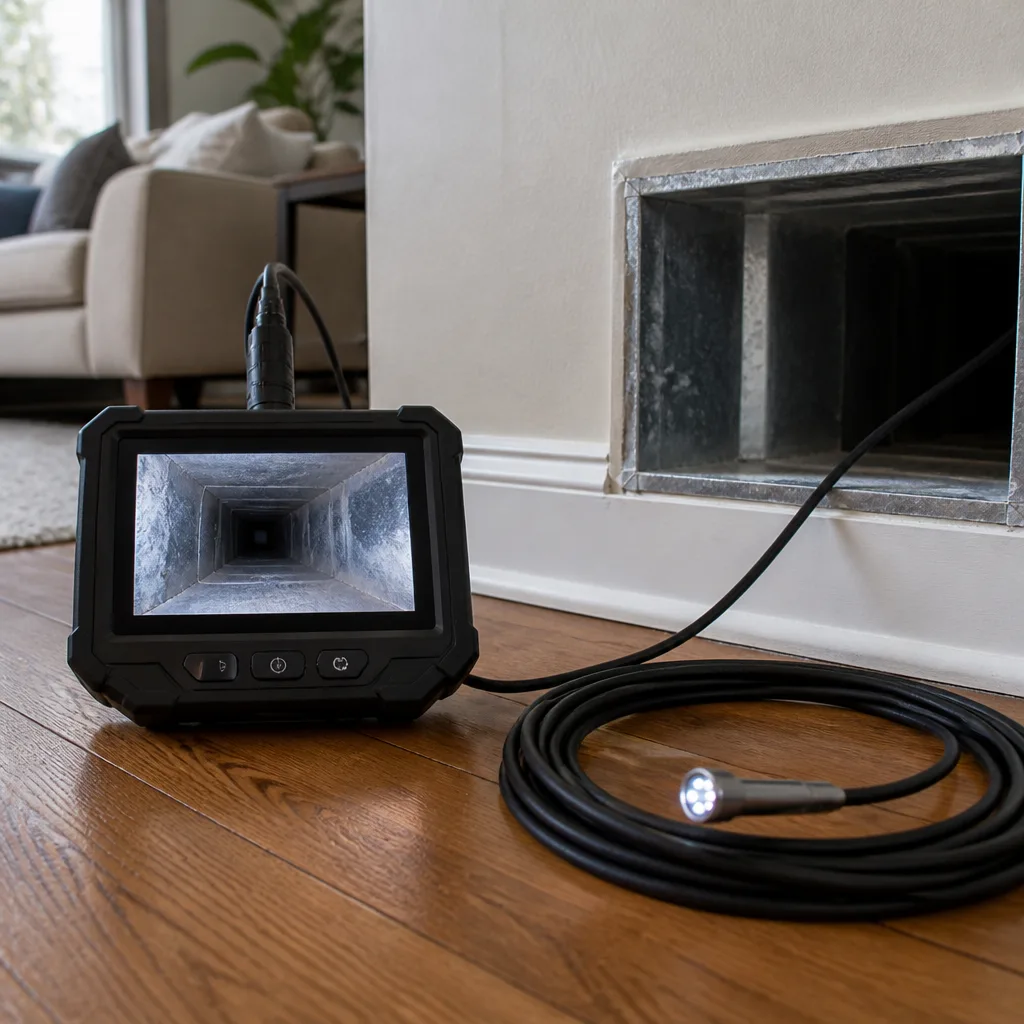 Camera inspection
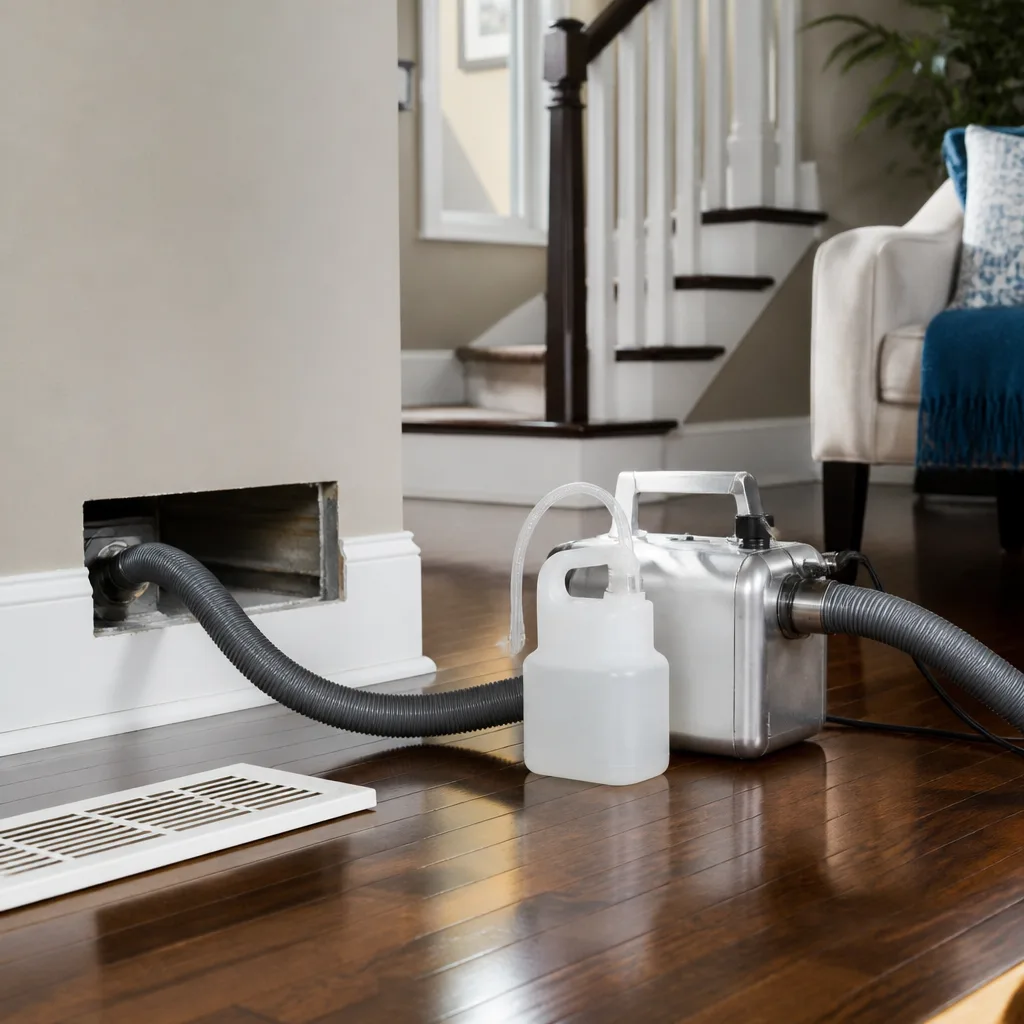 Sanitizing & deodorizing
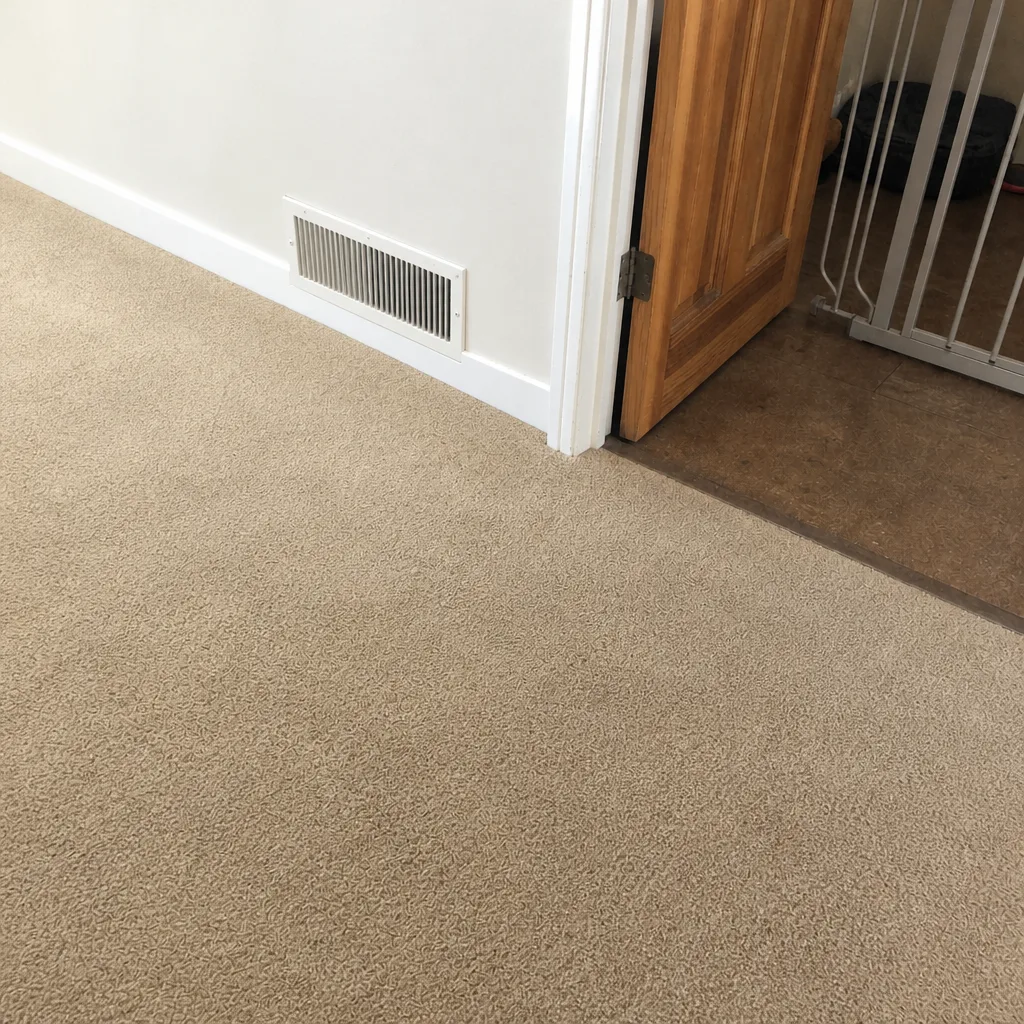
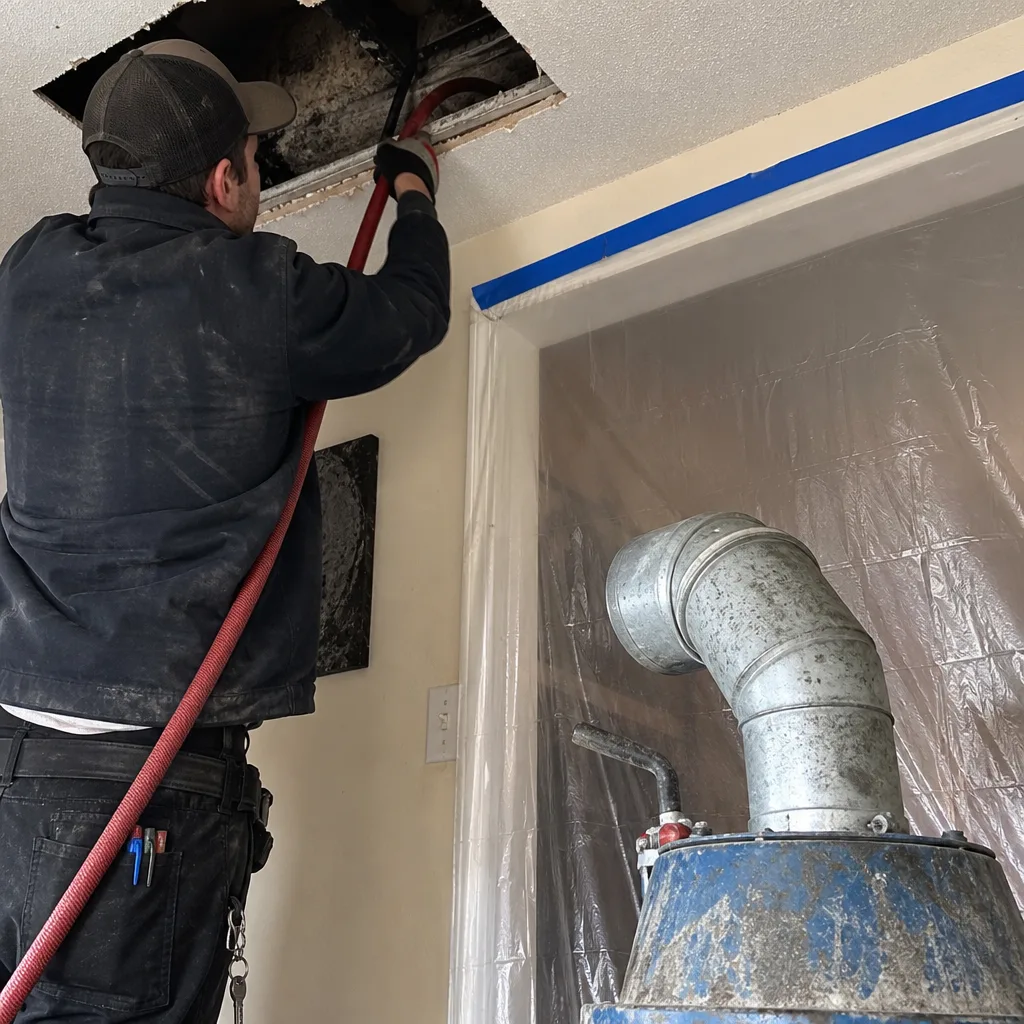
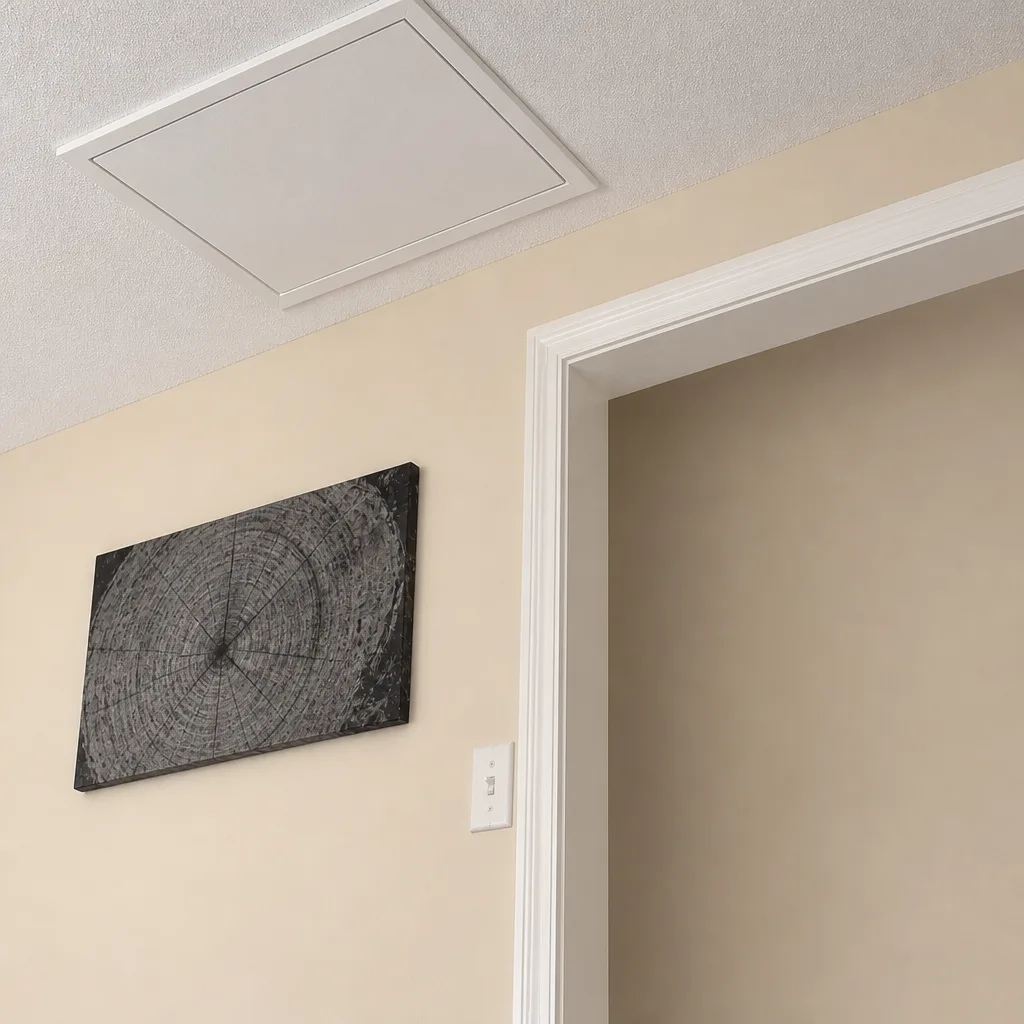
Whole-system duct and dryer vent check with before-and-after photos - you see exactly what came out of your vents
That "$99 whole-house special" is a bait ad - the real number appears once they are in your hallway, or the "clean" is a shop-vac at the register. We photograph the inside of your ducts before and after instead.
DIY vs Professional Air Duct Cleaning: The Queen Anne Homeowner’s Decision Guide
Most homeowners think the DIY-versus-professional question comes down to effort or money. It doesn’t. It comes down to negative pressure. A drill-powered brush kit and a shop vacuum are genuinely useful tools, and we’ll never tell you otherwise. But they generate a tiny fraction of the suction a professional extraction system does, and that difference decides whether debris leaves your ductwork or just moves to a different corner of it. This guide explains the physics in plain terms, shows what a homeowner can honestly accomplish, and maps out the situations where Queen Anne homes really do need a professional.
Quick Answer
For most Queen Anne homeowners, a professional cleaning is the right call for the full duct system, because only high-volume negative pressure can actually extract dislodged debris rather than redistribute it. DIY is a smart, worthwhile role for register cleaning, visual inspection, and dryer vent upkeep between professional visits. When the system has never been serviced, or you suspect mold, pest activity, or post-renovation debris, DIY is the wrong tool for the job.
Styles & brands we work with
- Whole-home duct cleaning
- Dryer vent cleaning
- Camera inspection
- Sanitizing & deodorizing
Table of Contents
- The physics nobody explains: why negative pressure is the whole ballgame
- What DIY duct cleaning can legitimately accomplish
- Where the household-vacuum approach falls apart
- Why older Queen Anne homes raise the stakes on DIY brush work
- When DIY is genuinely the wrong call
- How to use DIY maintenance between professional cleanings
- How to choose a professional in Queen Anne
- What professional cleaning costs, and why the cheap quote is often the expensive one
The Physics Nobody Explains: Why Negative Pressure Is the Whole Ballgame
A consumer duct cleaning kit with a drill-powered brush and a shop vac generates roughly 150 CFM of negative pressure. A truck-mounted professional extraction system generates 15,000 CFM or more. That’s not a marketing number; it’s the difference between sweeping a floor and actually holding the dust in a bag while you sweep. CFM stands for cubic feet per minute, and it measures how much air and debris the equipment can pull and contain at once.
Here’s the part that matters most. Debris that’s been sitting in a duct for years has settled against the walls and built up in the joints, the trunk line, and the boot where the register meets the floor. Dislodging it is the easy half. Capturing it is the hard half, and it only happens when the vacuum is strong enough to hold the whole system under negative pressure while a technician works from the inside. Without that, a brush loosens the debris and the debris settles somewhere else: a different branch of the duct, a downstream register, or into the room when the system kicks on.
This is why register-by-register vacuuming, even with a good shop vac, so often fails to produce a visible improvement. You’re cleaning one end of a long, interconnected pipe while the rest of it is still full. In our experience, the system has to be sealed at the trunk and pulled into a single negative-pressure state before any mechanical agitation begins. That’s the method behind professional extraction equipment from brands like Rotobrush and Nikro, which are built for this trade specifically rather than adapted from general shop use.
Air filtration matters too. Professional crews often run equipment from Abatement Technologies, the same category of filtration used in remediation environments, to keep the job site and the extracted air contained. A shop vac sitting in your hallway doesn’t do that; if anything, its exhaust pushes fine particles back into the room.
What DIY Duct Cleaning Can Legitimately Accomplish
We’re not going to tell you there’s nothing you can do. There absolutely is, and a well-run home maintenance routine depends on it. What DIY can do well is the surface layer: the parts of the system you can reach, see, and safely touch.
- Register and grille cleaning. Remove the supply and return covers, wash them in warm soapy water, dry them fully, and reinstall. Dust and lint collect heavily on the face of the grilles, and a clean grille changes how the air in a room feels.
- Exterior boot wipe-down. With the register off, reach in with a dry cloth and wipe the visible inner boot, the metal box just inside the floor or wall. You’ll often pull out a good amount of dust with almost no risk.
- Visual inspection. This is genuinely valuable. Look for streaks, discoloration, moisture, or a musty smell at every register. Note anything unusual; it’s the kind of early warning that turns a small repair into an easy one.
- Dryer vent maintenance. Clearing the lint trap after every load and brushing the exterior vent flap is basic, effective home upkeep for one of the leading causes of residential fires.
- Filter changes. Swap the HVAC filter on the manufacturer’s suggested schedule. A clogged filter strains the blower and puts more particulate into the airstream.
None of this requires special equipment, none of it risks damage, and all of it keeps the system running cleaner between professional visits. If a homeowner tells us they do these five things regularly, we know the professional cleaning will go smoothly.
Where the Household-Vacuum Approach Falls Apart
So what can’t DIY do? In short: the interior of the ductwork itself. And that’s where the build-up lives. The common DIY approach is to feed a brush on a flexible shaft down each register and vacuum what comes loose. Here’s what typically goes wrong.
- Debris escapes before it’s captured. The brush loosens material in one branch, but the shop vac isn’t sealed to the system, so the debris migrates to another branch or gets pushed back into the room when the air handler runs.
- The trunk line is never touched. The main trunk that feeds every branch is where the heaviest accumulation sits. A homeowner brush kit can’t reach it, and even if it could, there’s not enough air volume to move that material.
- No containment. Professional jobs seal the system and filter the exhaust. A shop vac in the hallway exhausts fine dust straight into the air the homeowner is trying to clean.
- Surface cleaning only. Even a thorough DIY pass leaves the settled layer on the duct walls. Sanitizing is impossible to do well without the pre-cleaning step, because a sanitizer applied over debris doesn’t reach the surface.
- No diagnosis. A brush doesn’t tell you whether a duct is crushed, disconnected, or leaking at a joint. That’s the source problem a cleaning alone won’t fix.
The gap between 150 CFM and 15,000 CFM isn’t a marketing embellishment, and no amount of thoroughness closes it. The tool has to match the job.
Why Older Queen Anne Homes Raise the Stakes on DIY Brush Work
Queen Anne’s housing stock is part of what makes this neighborhood distinctive, and it’s also why we approach DIY advice with some caution here. The hilltop blocks above Queen Anne Avenue and the streets running down toward the Sound contain a wide mix of eras, and a fair number of homes carry ductwork that’s decades older than its current owners assume. That matters for two reasons.
First, older duct systems are often galvanized steel. Galvanized seams are fastened at the joints, sometimes with tape or mastic that has dried and cracked over the years. A stiff, drill-powered brush spun at speed can catch on a failing seam and open it further, or find a loose section and tear it free. A duct that wasn’t leaking before the cleaning can start leaking after it if the brush work is aggressive and the technician doesn’t know what they’re spinning through.
Second, fiberboard duct is common in certain additions and retrofits. Fiberboard has an interior surface that’s much softer than metal. A stiff brush wears it down or shreds it, creating a rough, fibrous surface that traps dust faster than the original coating did. What looked like a cleaning can end up shortening the life of the duct run.
Queen Anne’s wet winters are the other factor. Interior humidity rises in the cooler months, and duct surfaces can run cool. That combination is exactly what condensation needs, and condensation on a duct surface is where mold and microbial growth start. In our experience, homes in the neighborhood with moisture problems in the ducts tend to be the ones where some DIY attempt was made earlier and the moisture wasn’t addressed. If you’re seeing dark streaks or smelling a musty odor, put the brush kit down and get the system looked at by someone who can advise on the moisture source.
Seismic considerations are worth knowing about too. Western Washington sits in an active seismic zone, and duct connections can shift or separate during a shake. A separated joint is a silent leak into a crawl space or wall cavity, and only a proper inspection will catch it. If you’re not sure how your ducts are joined, let someone qualified look before you go prodding around in them.
When DIY Is Genuinely the Wrong Call
There are situations where a homeowner should not attempt the work, and we’ll be direct about them. In each of these cases the risk isn’t just an incomplete cleaning; it’s damage to the system or to the people doing the work.
- You suspect mold or microbial growth. Mold requires containment, filtration, and often sanitizing to address properly. Disturbing it with a household vacuum can spread spores through the house. Professional equipment from Abatement Technologies is designed for exactly this containment work.
- Post-renovation debris. Drywall dust, sawdust, and construction grit in the system need real extraction, and the debris is often fine enough to defeat a shop vac filter. If you’ve just finished a remodel in a Queen Anne home, this is the moment to schedule a professional cleaning.
- Vermin evidence. Droppings, nesting material, or a dead animal in the ductwork carry real health risks and need proper removal, disinfection, and often a repair to seal the entry point. Don’t vacuum this yourself.
- Five-plus years without service. If a system has never been cleaned or hasn’t been touched in more than five years, the accumulated layer is deep enough that DIY tools will redistribute more than they remove. The system needs a full extraction.
- You’re seeing visible leaks, disconnected joints, or crushed sections. These are repair problems. Cleaning won’t fix them, and brushing around them can make them worse.
- Anyone in the home has respiratory conditions. If asthma, allergies, or another respiratory condition is in the picture, the stakes go up on particulate escape during cleaning. Professional containment is the safer path.
When the problem is one of these, we’d rather tell you straight: the DIY route is not the right tool. Finding the source, not just the symptom, is what the professional method is for. That means air duct cleaning followed by duct repair and sealing when the inspection turns up a leak, because cleaning a leaking system just means it gets dirty again faster.
How to Use DIY Maintenance Between Professional Cleanings
Here’s where we think homeowners get the best value out of their own labor. The right role for DIY effort is in the space between professional cleanings, not instead of them. A little maintenance discipline lengthens the interval between visits and keeps the system cleaner for longer.
- Change the HVAC filter on schedule. Follow the manufacturer’s recommended interval; if you have pets or live on a dustier street, consider changing it a bit more often. This single habit has the biggest effect on system cleanliness.
- Wash the registers every few months. Pop them off, wash, dry, reinstall. You’ll see the dust that would otherwise have gone back into the duct.
- Vacuum the return grille area. The return pulls more dust than the supplies. A quick, careful pass during regular housecleaning helps.
- Clean the dryer vent lint trap after every load and check the exterior vent flap regularly. Lint accumulation is a fire risk, and it’s easy to stay on top of.
- Watch for new smells, streaks, or dust plumes. Note what you see and when. That information makes the next professional visit faster and more effective.
- Walk the basement or crawl space once a season and look for disconnected flex runs. It’s a common finding we come across in Queen Anne homes, and catching it early is cheap to fix.
For most homes, a professional cleaning every few years combined with this routine makes the system last and run cleaner. Homes with pets, recent renovations, or respiratory concerns in the household may want to shorten that interval. If the house is a rental or a property manager handles a building, put the maintenance cadence in writing so everyone is on the same schedule.
If your home has a dryer vent that’s been ignored for a while, our dryer vent cleaning service is worth a look. It’s one of those maintenance items that’s easy to skip and worth doing properly.
How to Choose a Professional in Queen Anne
If you’ve decided a professional cleaning is the right next step, the selection process matters as much as the cleaning itself. The duct cleaning trade has a reputation problem for a reason: some operators advertise a low headline price, then escalate the bill once they’re on site. Here’s how to separate the credible bids from the rest.
- Ask what “one price” means. The professional should quote one flat price per system agreed before work starts, not per vent, per register, or per hour. Anything that starts with a very low teaser number and grows is a red flag.
- Ask what equipment they use. The answer should include purpose-built extraction equipment, not a shop vacuum with a hose adapter. Brands like Rotobrush and Nikro are built for this trade specifically.
- Ask about filtration and containment. A professional crew uses air filtration equipment, the same category of equipment used in remediation work. Abatement Technologies is one name to listen for.
- Ask about before-and-after photos. Not every job photographs well, but the professional should offer photos of the ducts they cleaned. Seeing the work is the surest way to know it was done.
- Ask whether repair and sealing is part of the visit. A cleaning alone won’t fix a leaking joint. If the professional can inspect and address leaks in the same visit, you’re avoiding a second contractor and a second problem.
- Ask about dryer vent service. A full-service provider handles the dryer vent as a standalone item, which is useful if that’s the only thing that needs attention.
- Confirm the pro is licensed and insured as their state requires. Ask to see proof, and don’t feel awkward asking.
We’ve watched enough jobs to know that the answers to these questions separate a careful operator from a fast one. For a broader walkthrough of the process and what a professional cleaning actually looks like, see our Air Duct Cleaning Queen Anne overview, and for the HVAC side of the system, our HVAC cleaning service covers the components that feed the ducts.
What Professional Cleaning Costs, and Why the Cheap Quote Is Often the Expensive One
Air duct cleaning in Queen Anne typically runs in a broad range depending on the size of the system, the number of runs, and the condition of the ducts. A straightforward cleaning on a modest home usually lands in the low hundreds; a larger home, a multi-zone system, or a system that needs repair and sealing as well can run well into the thousands. On top of the base cleaning, duct repair and sealing is priced separately, and dryer vent cleaning is priced as its own job. The written estimate sets the final price, and we’d discourage making a decision without one.
- Standard cleaning, small-to-mid home: roughly $300 to $600
- Larger home or multi-zone system: roughly $600 to $1,200
- Heavily contaminated or post-renovation system: priced after inspection
- Duct repair and sealing: priced per job after inspection
- Dryer vent cleaning (standalone): priced as its own service
If you receive a quote far below the range above, ask what the price covers and whether anything is added once the technician is on site. We’ve seen this enough to be blunt: the low quote often turns into a much larger invoice, and the cleaning that happens in between is thin. A fair bid will state the scope, tell you what equipment is used, and stand behind a flat price per system.
Cost isn’t the only consideration. A professional cleaning that includes an inspection, extraction, sanitizing, and a repair pass when necessary is doing the whole job. A quick surface pass isn’t, and the difference shows up in your air quality and in your energy bill. For homeowners thinking about longer-term air quality improvement, the products from Aprilaire and Honeywell are worth asking about; they’re a different category of investment than a cleaning, and a professional can help you decide whether they’re worth considering for your home.
Common Mistakes to Avoid
- Thinking a stronger shop vac closes the gap. CFM and containment are the two limits a consumer vacuum can’t overcome, no matter how many attachments you buy. Save the money for the professional visit.
- Brushing fiberboard ducts aggressively. Fiberboard interiors scuff and shred under a stiff brush, and a roughened surface traps dust faster. If you’re not sure what your duct is made of, don’t spin a brush through it.
- Cleaning around a known leak. A disconnected or crushed duct means cleaning the system won’t get you clean air. Fix the source first, then clean.
- Ignoring a musty smell. A smell at a register in a Queen Anne home is often the first sign of moisture, and moisture is a repair-and-sanitize problem, not a vacuum problem.
- Skipping the filter. A dirty filter strains the blower and sends more particulate into the ducts. Change it on schedule; it’s the cheapest maintenance there is.
- Hiring on headline price alone. Ask what the quote covers, what equipment is used, and whether before-and-after photos are offered. The answers tell you most of what you need to know.
- Doing one cleaning and calling it done. A maintenance routine between professional visits is what keeps the system cleaner for longer.
See the difference
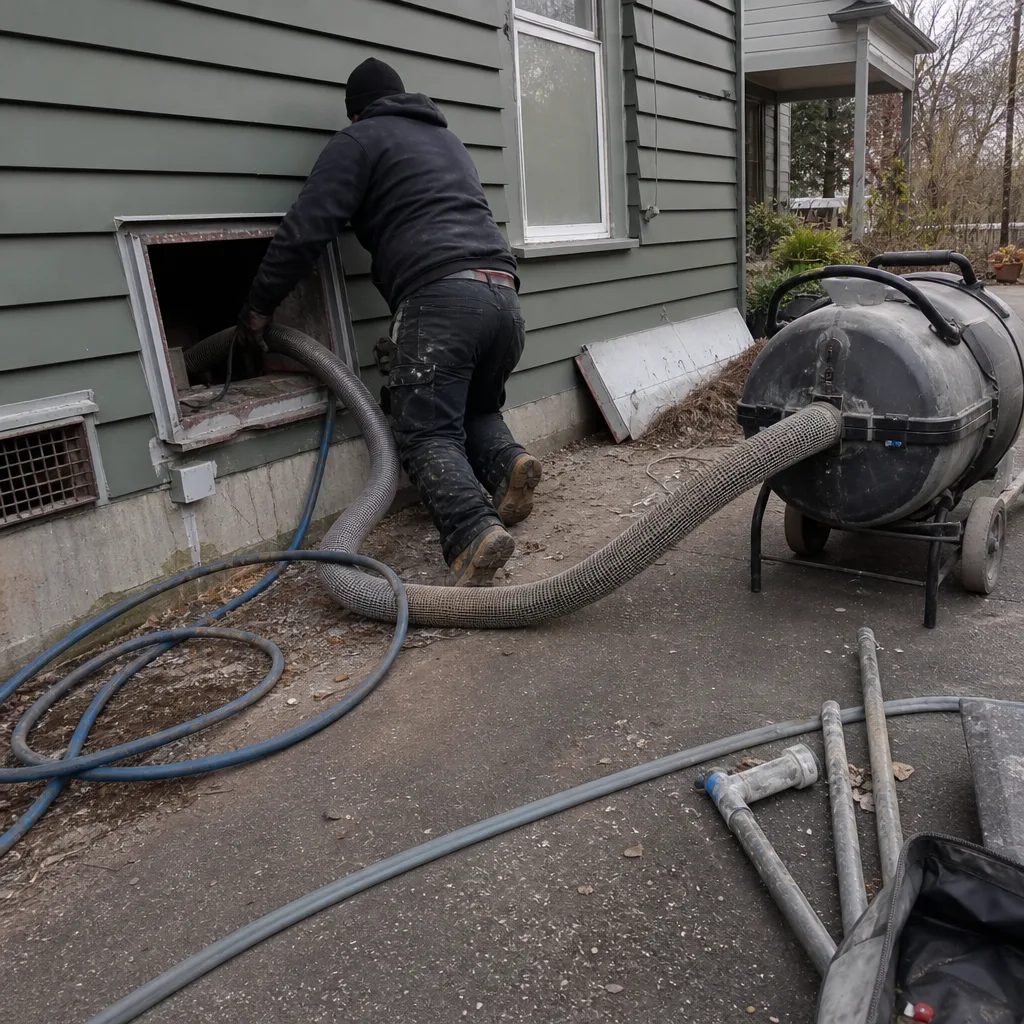 Before
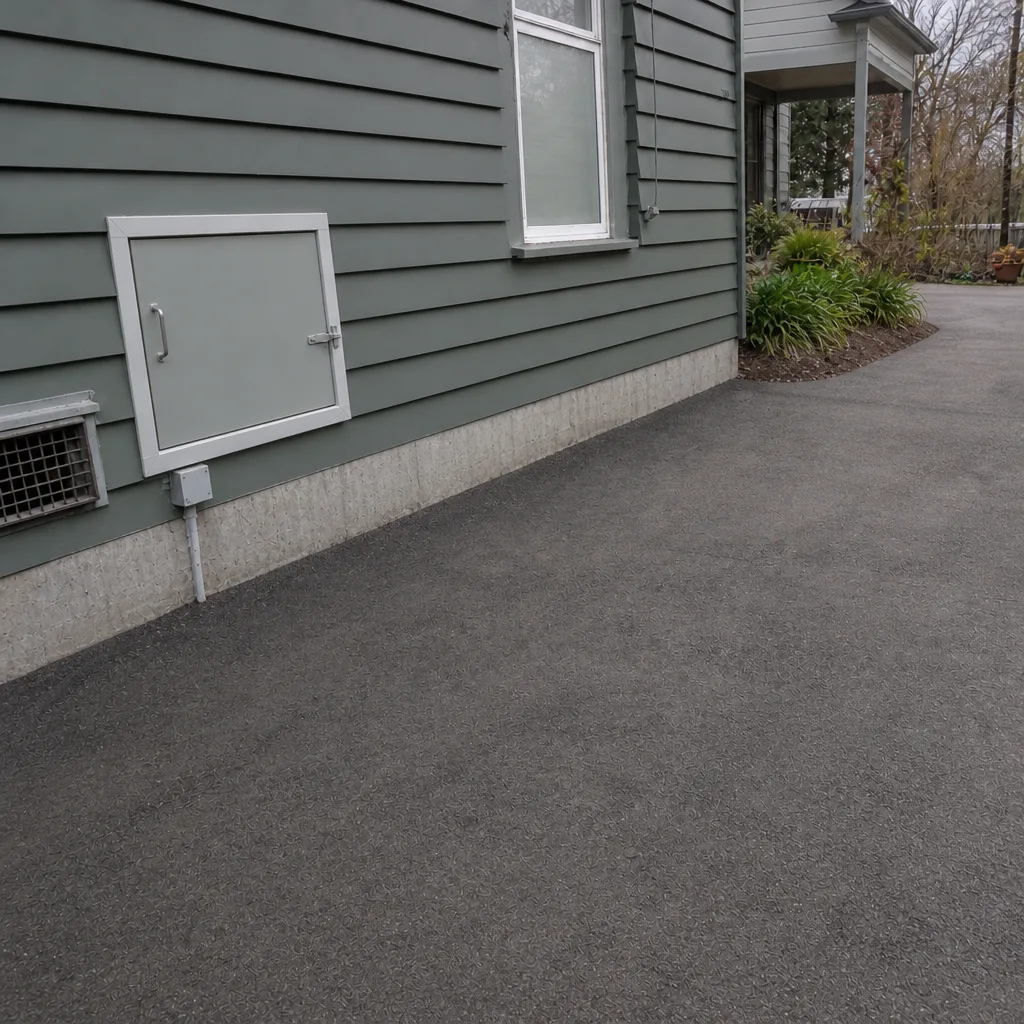 After
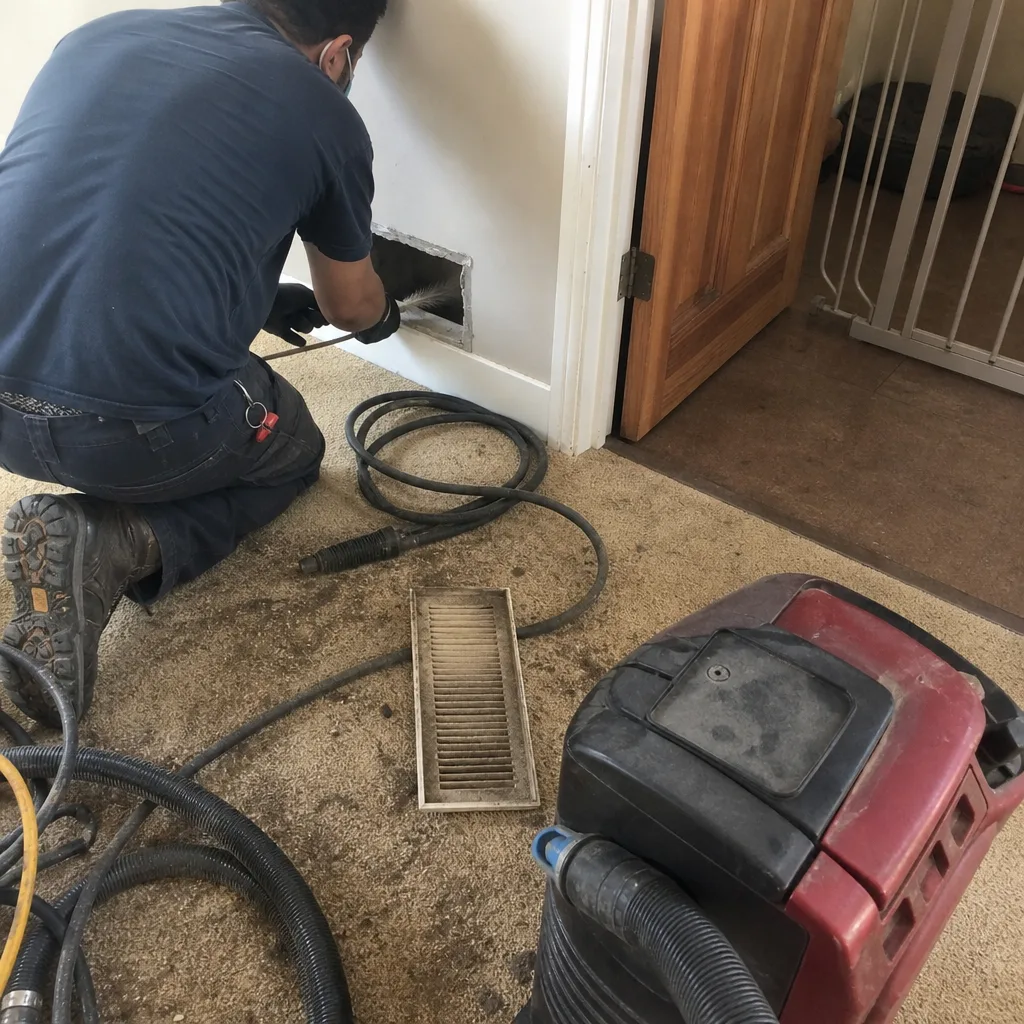 Before
 After
 Before
 After
When to Call a Professional
Call a professional when the system has never been cleaned or hasn’t been serviced in more than five years, when you’re seeing visible mold, moisture, or vermin evidence, right after a major renovation, or when a duct inspection turns up a leak, disconnected joint, or crushed section. Call as well if anyone in the home has a respiratory condition, or if the system is noisy, uneven in airflow, or producing a musty smell in a room. If it’s just the dryer vent that’s overdue, that’s a standalone service and worth scheduling. Air Duct Cleaning Queen Anne offers free estimates in Queen Anne. Call (833) 736-3635. We answer 24/7. Fast dispatch from 7am to 7pm, Sunday through Friday.
Frequently Asked Questions
For a typical Queen Anne home, professional air duct cleaning usually runs somewhere between the low hundreds and roughly $1,200 depending on system size, number of runs, and condition. Repair and sealing and dryer vent cleaning are priced separately, and the written estimate sets the final price. Call (833) 736-3635 for an exact quote; estimates are free.
Yes, for the surface layer. Washing registers, wiping the visible inner boot, changing filters, and maintaining the dryer vent are all worthwhile and risk nothing. What DIY can’t do is clean the interior of the duct system, which is where the debris builds up. Those two jobs are different, and they call for different tools.
The low quote usually reflects a thin scope: surface brushing, no filtration, no inspection, and additional charges that appear once the technician is on site. A fair bid states one flat price per system, agreed before work starts, with real extraction equipment and a real inspection. The cheap quote often becomes the expensive invoice.
Ask for before-and-after photos of the ducts that were cleaned, and ask what equipment was used on site. A professional will happily show the work. If they won’t or can’t, that’s a signal. Call (833) 736-3635 if you want to talk through what a cleaning should include before you commit.
For most homes, every few years is reasonable, with filter changes and register cleaning in between. Homes with pets, recent renovations, allergies in the household, or a lot of foot traffic may want it more often. If it’s been over five years, schedule a professional visit and start the maintenance routine from there.
Yes. Older galvanized ducts can have failing seams that a stiff brush will open further, and fiberboard ducts can be shredded by an aggressive brush pass. The damage is usually invisible from the register, which is why we advise a professional inspection before anyone goes prodding around in an older system.
The Bottom Line
The DIY-versus-professional decision isn’t really about effort; it’s about whether you can generate enough negative pressure to capture what you dislodge. A consumer kit pulls a tiny fraction of the airflow a professional system does, so what it loosens tends to move rather than leave. DIY has a real and worthwhile role: registers, filters, the visible boot, the dryer vent, maintenance between visits. For the interior of the system, especially in older Queen Anne homes with galvanized or fiberboard ducts, call a professional. One call covers the full system, and that’s the honest answer.
Get a Free Estimate
If you’ve read this far and want a straight answer on what your own duct system needs, we’re happy to take a look. Air Duct Cleaning Queen Anne cleans, repairs, seals, and sanitizes duct systems across the neighborhood, with free estimates and one flat price per system agreed before work begins. Call (833) 736-3635. We answer 24/7. Fast dispatch from 7am to 7pm, Sunday through Friday.
Written by the team at Air Duct Cleaning Queen Anne.